

How To Make Fermented Garlic
Introduction
Unlock bold, complex flavors in your cooking and support gut health by learning how to make fermented garlic. Fermenting garlic not only softens its sharp bite but brings out sweet, umami notes that elevate sauces, marinades, and dressings. This method delivers delicious, probiotic-rich cloves right from your pantry in a process that’s both simple and rewarding—perfect for anyone looking to diversify their home fermentation repertoire.
Why Fermented Garlic is a Pantry Game-Changer
Fermented garlic stands out due to its versatility and depth of flavor. The natural lactic acid fermentation process creates garlic that’s mellow, slightly tangy, and bursting with savory notes—unlike the raw, pungent version. Add it to garlic bread, hummus, salad dressings, or enjoy it straight from the jar as a unique snack or immune-boosting ingredient in your daily meals.
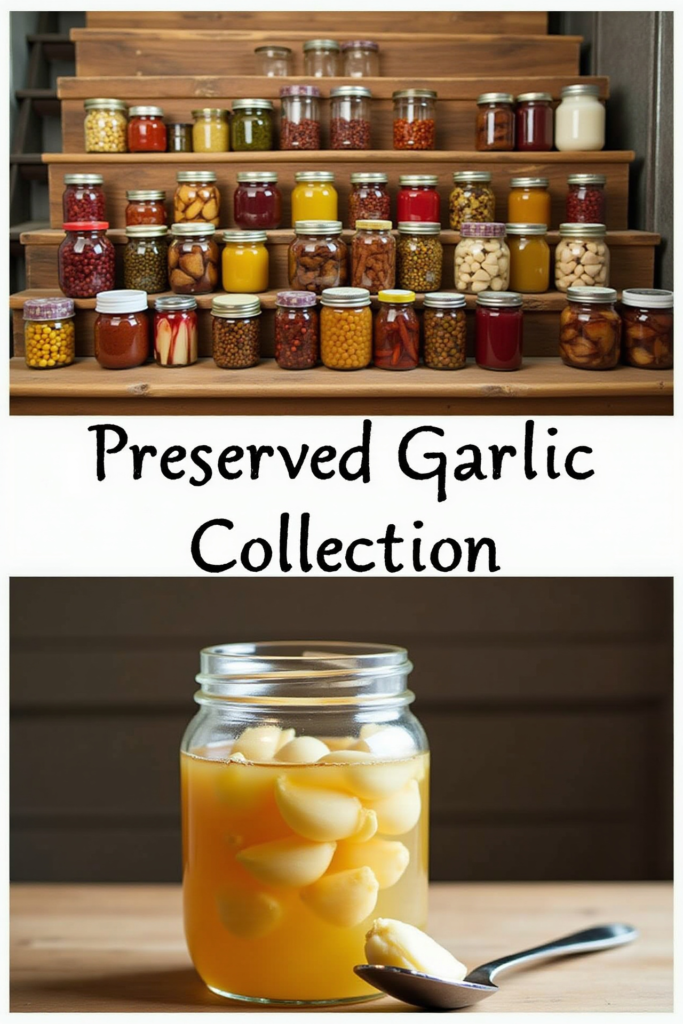
Preparing the Garlic for Fermentation
Select firm, fresh heads of garlic. Peel each clove, making sure to remove any blemishes or damaged spots. For best results and safety, use non-chlorinated, filtered water for the brine—chlorine can inhibit the fermentation process. Prepare your favorite flavor additions, such as black peppercorns, bay leaves, or a hint of chili, to customize the final taste.
How to Ferment Garlic at Home
1. Make a simple brine by dissolving non-iodized salt in filtered water (see ingredient list for ratios).
2. Arrange the peeled garlic cloves in a clean, sanitized glass jar.
3. Add optional spices or herbs for extra flavor.
4. Pour the brine over the garlic, ensuring all cloves stay submerged—use a fermentation weight if needed.
5. Seal the jar loosely to allow gases to escape, or use a fermentation lid.
6. Let the jar sit at room temperature, out of direct sunlight, and check daily for 1-3 weeks. Garlic is ready when it tastes tangy and aromatic.
Serving Suggestions for Fermented Garlic
Use fermented garlic cloves in dressings, sauces, or as a topping for roasted vegetables and meats. Mash a few cloves into butter for a probiotic-rich spread or mince into soups and stews for depth of flavor. It also makes a punchy addition to charcuterie boards and antipasto platters.
Nutritional Information and Serving Size
Fermented garlic is low in calories (about 4 calories per clove) and contains beneficial probiotic bacteria, especially when consumed raw. Enjoy 1-2 cloves daily for maximum flavor and gut health benefits.
Ingredients
💡Meal Planning Tip: Save this recipe to automatically generate an organized shopping list with all ingredients sorted by store section perfect for efficient grocery trips and meal planning.

Instructions
- Peel all garlic cloves, removing any damaged or bruised ones.
- Mix salt into filtered water until fully dissolved to create the brine.
- Place garlic cloves (and any optional flavorings) into the sterilized jar.
- Pour the brine over the garlic. Place a fermentation weight or small ramekin on top to keep the garlic submerged.
- Seal the jar with a loose-fitting lid or fermentation lid to allow gases to escape.
- Ferment at room temperature (65–75°F/ 18–24°C), away from direct sunlight, for 1 to 3 weeks. Taste after 7 days; continue fermenting until desired tanginess is reached.
- Once ready, store the jar in the refrigerator—it will continue to develop flavor and remain fresh for several months.
Weekly Meal Planning
This recipe is a perfect addition to any meal prep plan, providing a flavorful and healthy condiment that elevates simple dishes all week long. Save and schedule this recipe to plan when to start your fermentation and generate a smart shopping list that gathers all your pantry staples and spices.
Planning Benefits:
– Automatically calculates total ingredient quantities across your recipes
– Organizes shopping lists by grocery store sections
– Prevents ingredient overlap and avoids forgotten groceries
– Makes weekly meal prep more efficient and stress-free
Pro tip: When planning meals for the week, schedule your recipes to see all needed ingredients and discover new ways to incorporate fermented garlic, like in mixed bowls, pasta, or healthy spreads.
Cook and Prep Times
Prep Time: 15 minutes
Fermentation Time: 7–21 days
Total Time: 15 minutes prep + fermentation (mostly hands-off)
Fermented garlic is a deceptively simple recipe that packs a punch of flavor and nutrition—a smart staple for every home cook’s arsenal!
